
What Does Contemporary Home Design Mean?
Contemporary designs are about using the most basic elements to create something beautiful and functional. Contemporary homes are designed to be very open, airy, and inviting, and they don’t have a lot of clutter or excess furniture around. In this article, you will learn what a contemporary design for the home means.
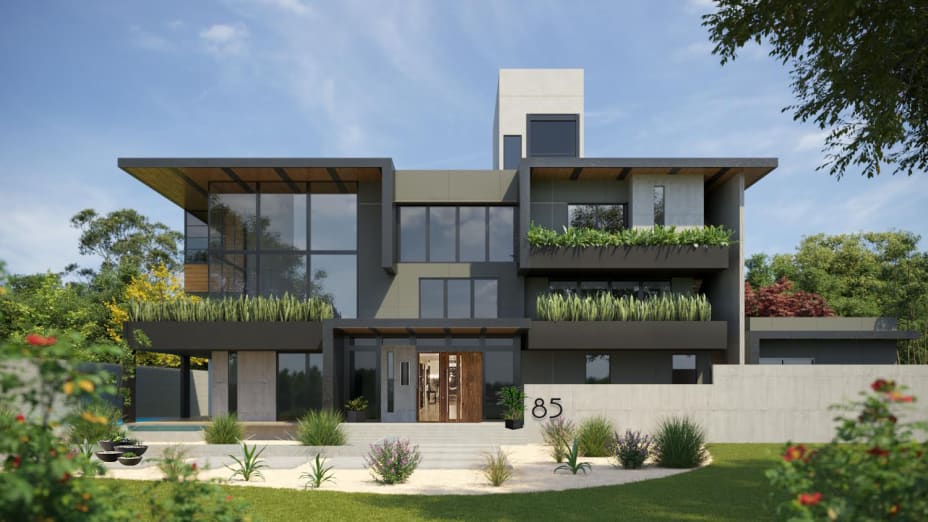
Contemporary Home Design
Contemporary home design is a style of interior design that focuses on simplicity and minimalism. It’s about going back to the basics and is very minimalistic in nature, which is a reaction to the over-the-top designs of the past.
This new type of design can be used in any room or space in your house, but it’s most commonly associated with kitchens and bathrooms because they tend to be less formal than other rooms like bedrooms or living rooms.
The Elements of Contemporary Home Design
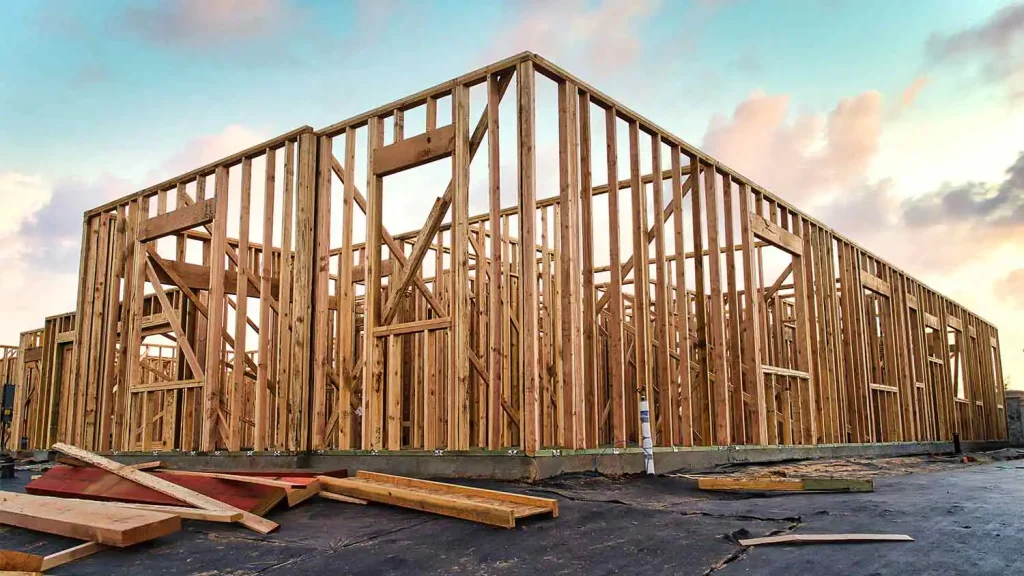
Contemporary home design is a style that focuses on using the most basic materials and tools to create a space. It’s also about bringing nature into your home, using natural light and colours, as well as new tools and techniques.
Contemporary designs can be thought of as going back to basics in terms of architecture, but it’s really much more than that, as it’s about using modern materials, too. You’ll notice that many contemporary homes have an industrial feel with lots of cold steel and concrete. They may have curves or angles instead of right angles. And they often use large windows so there’s lots of natural light coming in throughout the day.
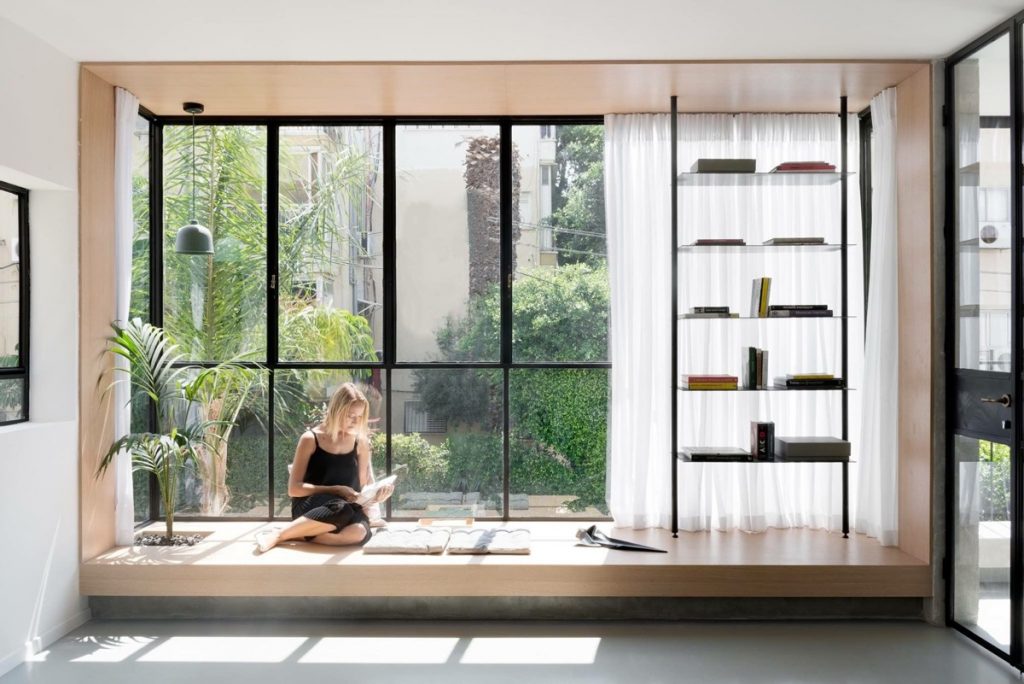
Inner Space
The concept of “less is more” is applied in inner space, as designers create open spaces that allow you to enjoy the beauty of your home and its surroundings. Glass walls are often used to create this effect, allowing you to see outside while still feeling like you’re inside your house.
Another way homes can feel larger is by using minimal furniture in them – think sleek pieces made from metal or wood instead of frilly sofas or upholstered chairs. The goal of contemporary design is simplicity: it’s all about creating an open feel without being cluttered by too much stuff.
Light and Colour
Lastly, contemporary style is about simplicity, form, and function. When you think of contemporary homes, you probably don’t picture bright colours or bold patterns; instead, you imagine light-coloured walls with simple furnishings that blend seamlessly into their surroundings.
Contemporary homes tend to be very minimalistic in nature, as they’re not filled with knickknacks or ornate wall decorations. The goal of a contemporary home is not just functionality but also beauty: the aesthetic appeal of clean lines and open spaces will leave you feeling refreshed when you walk through your front door each day!